
Start with a Topo Tile with the Floodplain.
Any layer will do but I like the X-TOPO-BOUNDARY

Create a RECTANGLE in the area of interest. This process takes time so focus on where it is important. Yes you want to work outside of the area but not too far.


You need a Coastal Bank folder in the Tile Folder, Name the GRD file something unique and something reasonable. You might never return to this file but we still want it.

Pretty much default but make the cell sizes 1x1

You are stuck in one quadrant right now. If your rectangle crosses multiple quadrants, make multiple GRD files.

In the Civil module, you can merge grids.

So now run the SLOPE ZONE ANALYSIS.


Choose your grid.

If you do not have the defaults loaded, they are located here in a PAT file.

The settings should look like this.

No need to bother with Inclusion, Exclusion or Extrapolation.

It will crank through and provide a report.

And you can draw a legend if you want it.

Eventually it will display the slope analysis.

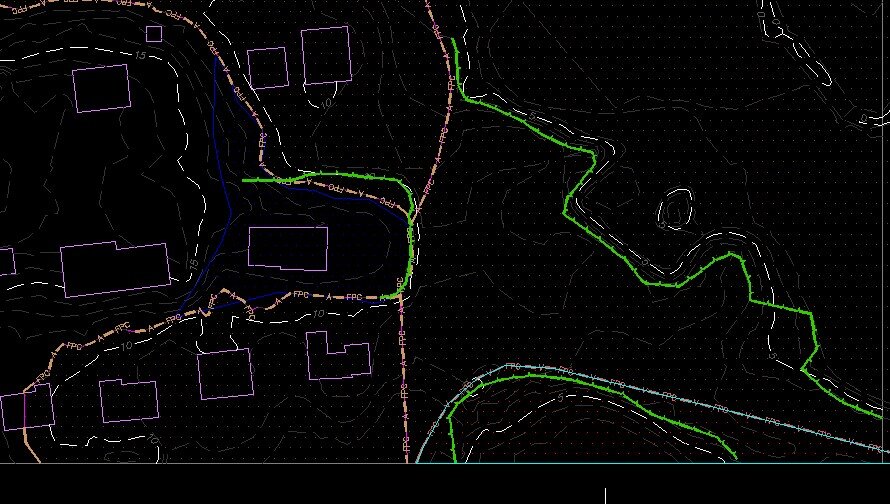
Bring in the coastal bank layers.

Draw 2DP polylines with Zero elevations. Use F3 to turn of OSNAP..


And the banks in this area are delineated.

Get rid of the grid. Freeze it until you are comfortable. Then you can delete it.
OFFSER by 1’.

FILLET the offset with RADIUS = 1 using the POLYLINE option.

OFFSET by 49’ and 99’.

Match to the 50 / 100 foot options., DELETE the 1’ offset.
